PACS configuration
To access the PACS interface, open a web browser and visit the site using {IP}:{port}.
Unless modified, PACS responds on port 8080.
System Setup
When accessing the system for the first time, a setup page is automatically displayed asking for the Administrator user's password for the admin tenant. This tenant remains the sole accessible one until additional tenants are created during the initial configuration step.
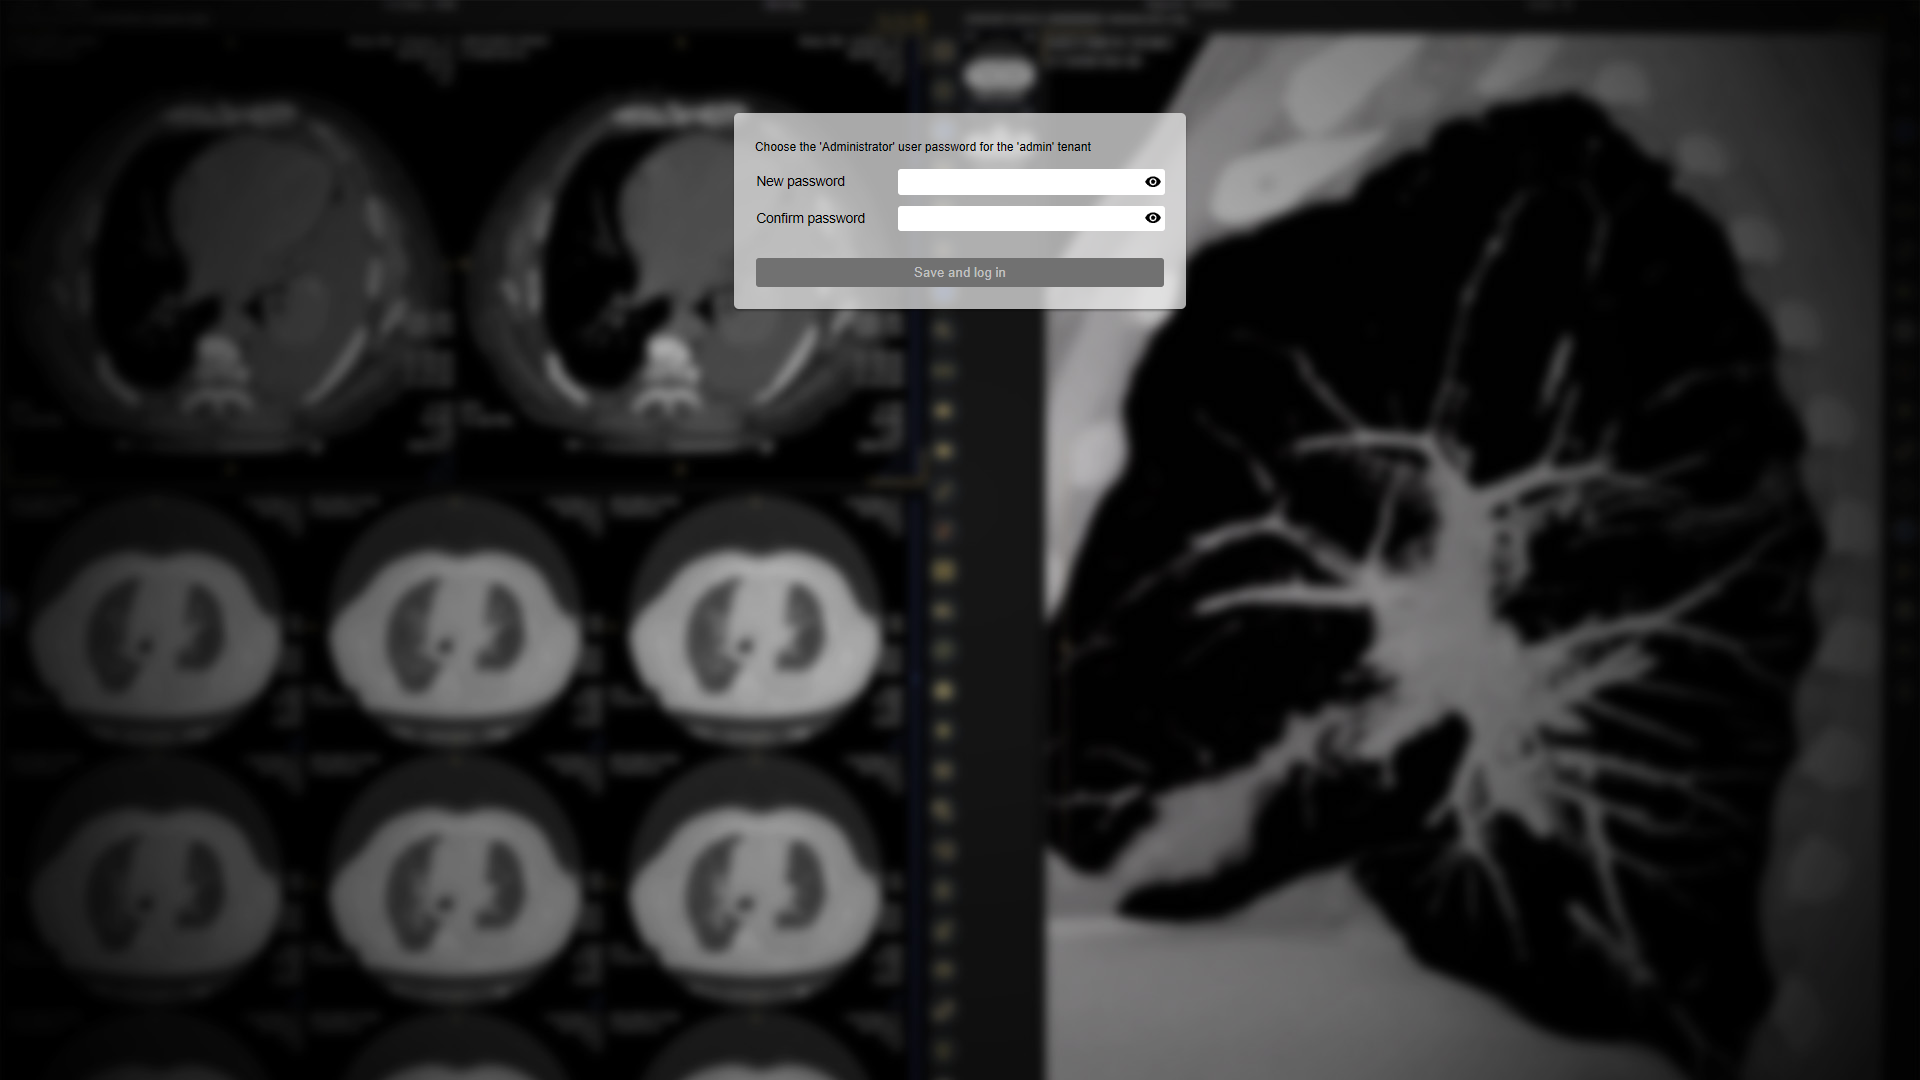
PACS setup page
After setting the password and saving the setup, proceed to log in to the admin tenant as the Administrator user.
Initial configuration
Within the “Multitenancy” area of the admin tenant, which is automatically opened after the log-in, click on the “Initial Configuration” button. This action will prompt you to decide whether to utilize a single-tenant or multi-tenant architecture for your system.
Note that once the decision is made to configure the system as either a single-tenant or multi-tenant installation, it cannot be changed later.
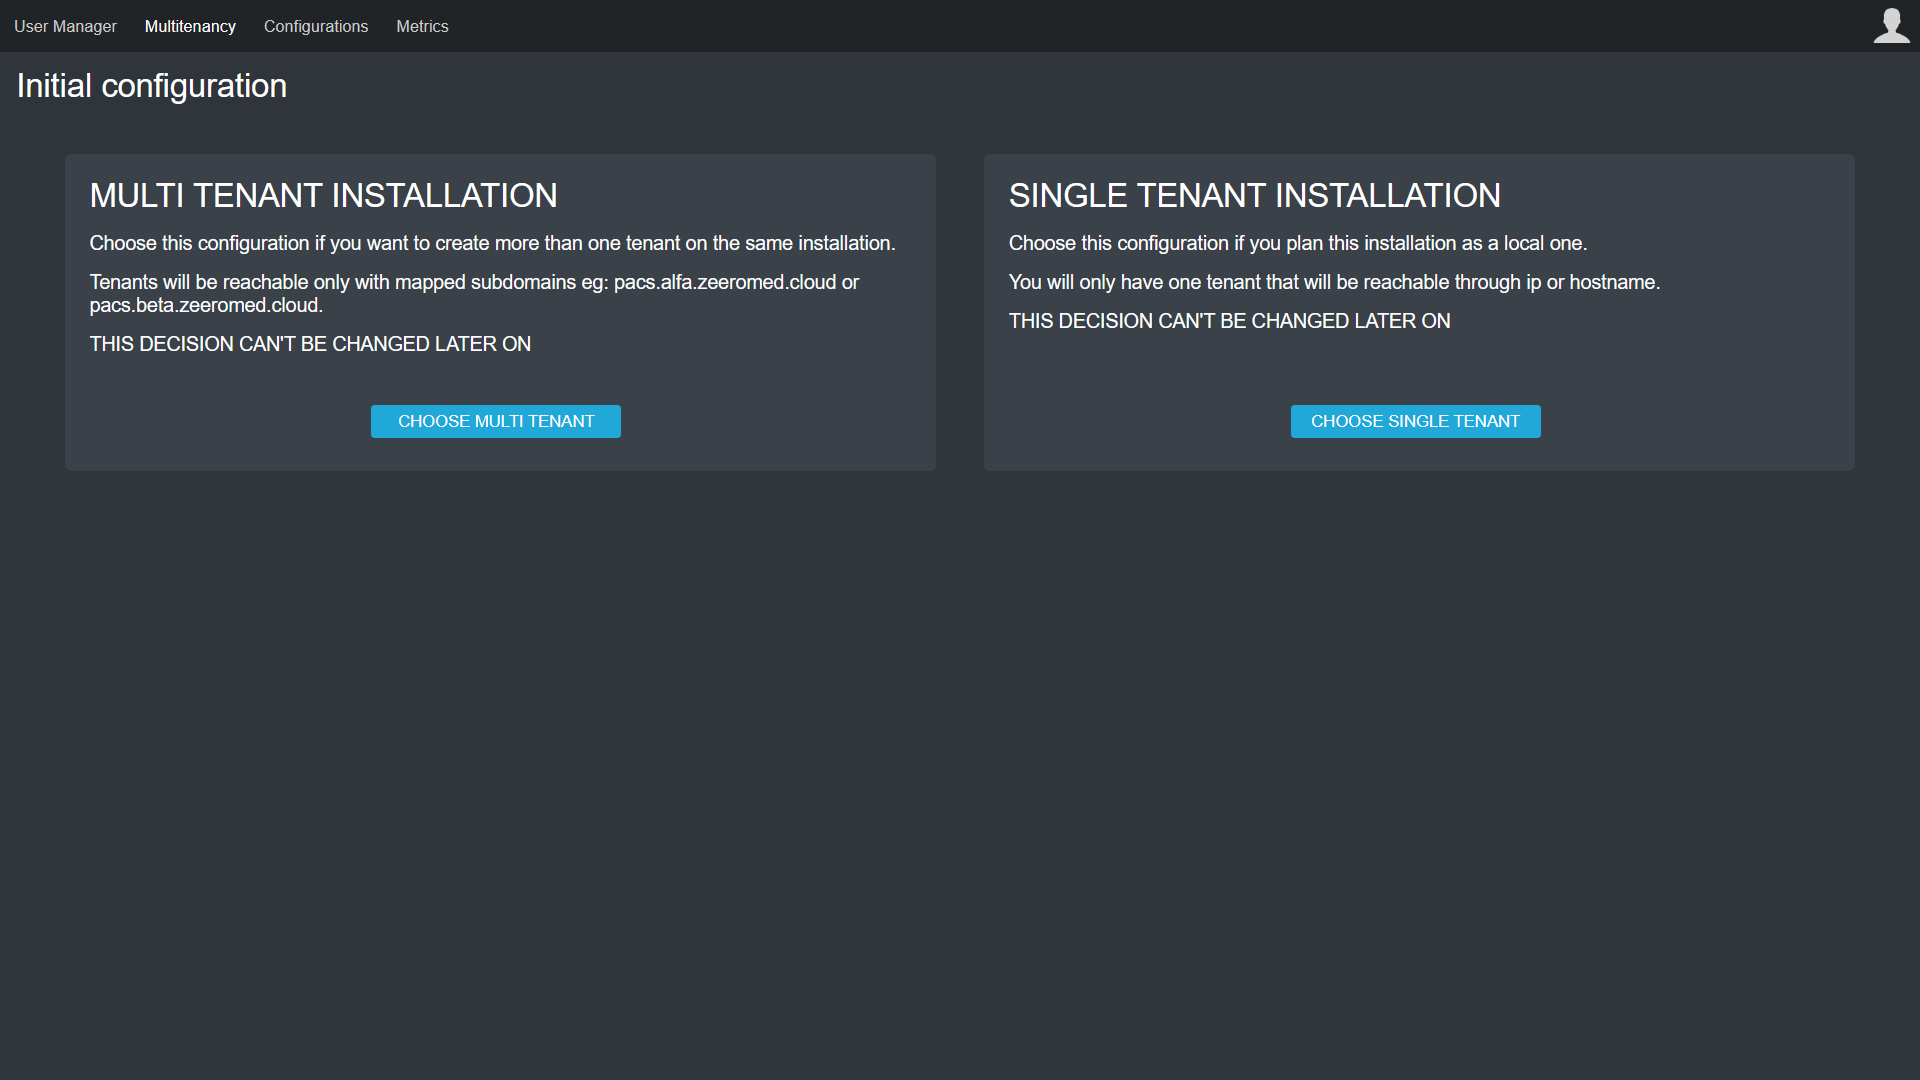
Initial configuration within the “Multitenancy” area of the admin tenant
Single-tentant installation
If opting for a single-tenant installation, proceed by clicking on the "CHOOSE SINGLE TENANT" button to initiate the addition of a new tenant. The system will automatically assign the name DEFAULT as the tenant name. Then, set the AE Title and the password for the Administrator user.
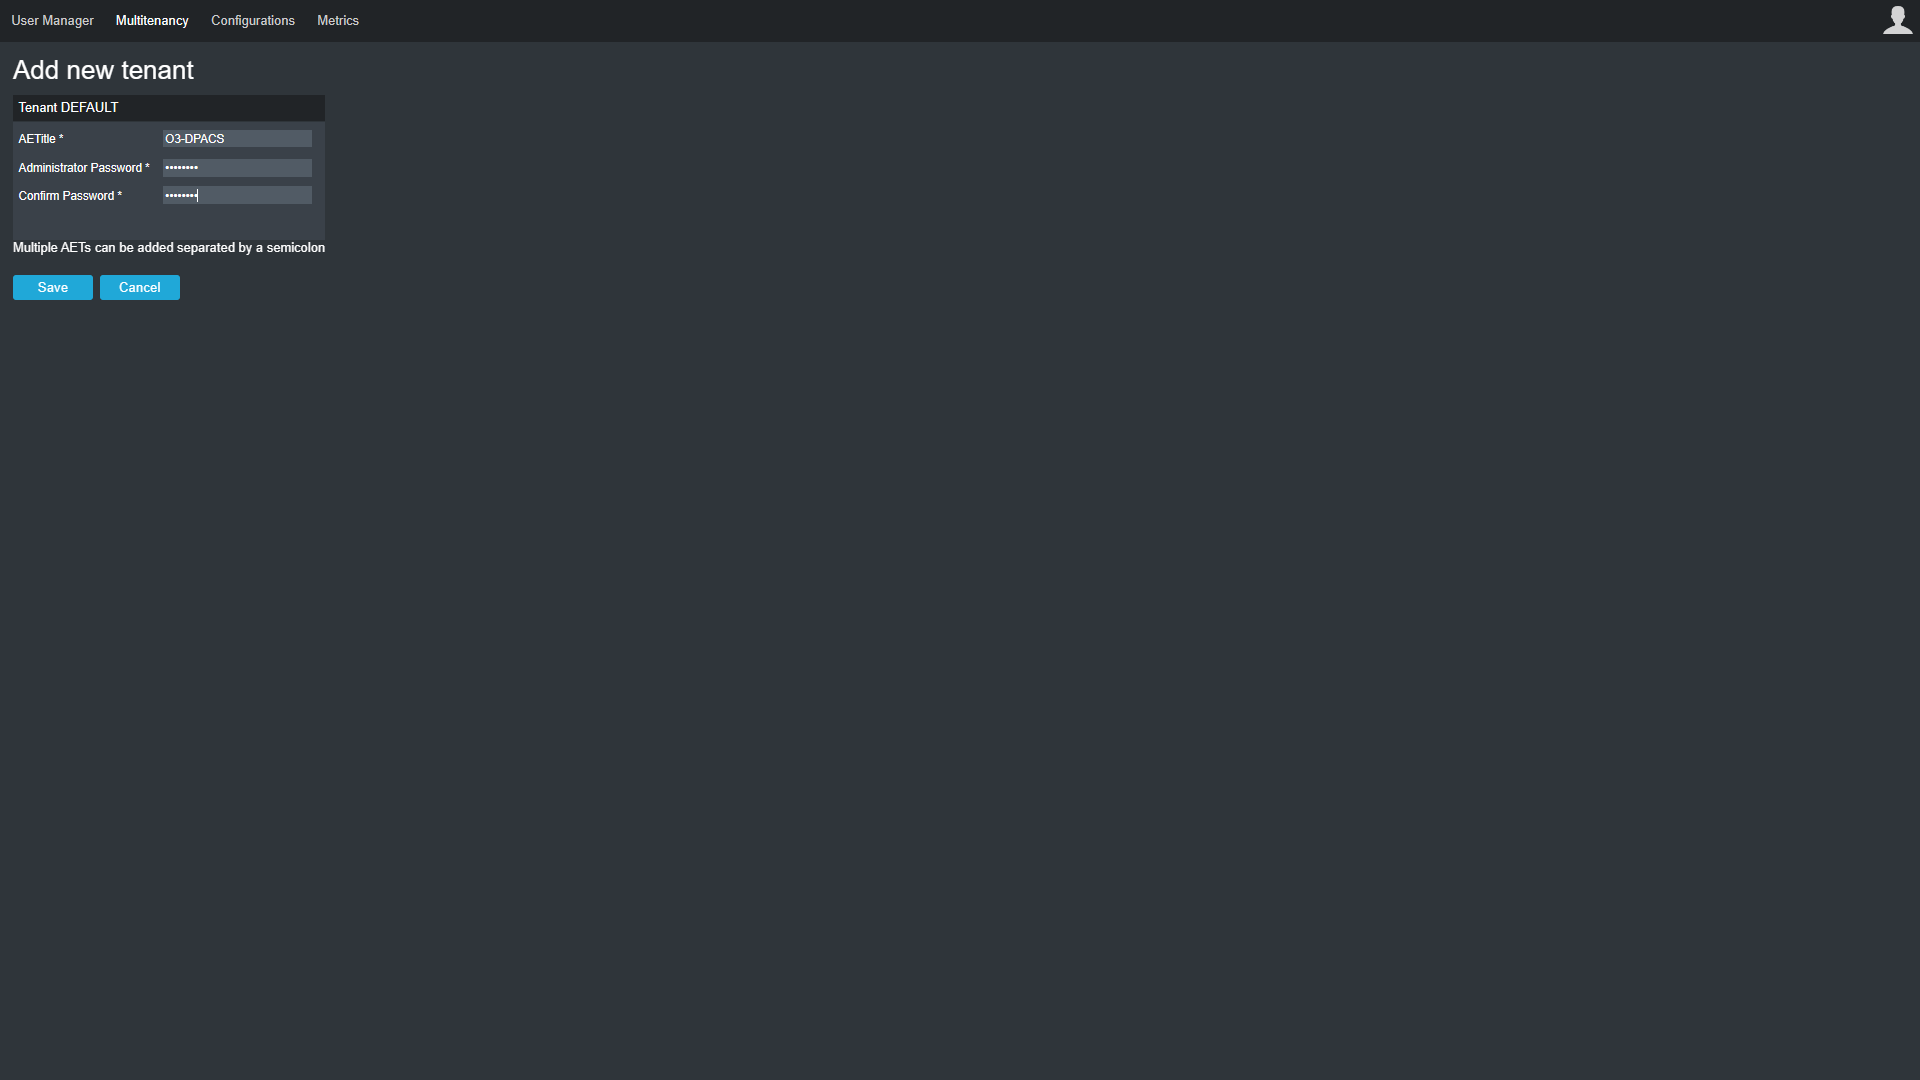
Single-tenant configuration
Multi-tenant installation
WARNING
Before starting a multi-tenant installation and configuration, a fundamental knowledge of tenants, multitenancy, and reverse proxying is required.
For further information about multi-tenant installation, refer to the PACS and VIEW multitenancy page.
If opting for a multi-tenant installation, proceed by clicking on the "CHOOSE MULTI TENANT" button to initiate the addition of a new tenant. Then, set the name of the tenant, its AE Title, and the password for the Administrator user.

Multi-tenant configuration
Licence Activation
Once the tenants have been successfully created, their licence must be activated. In the “Tenants list” page, download the digest file for each tenant, and obtain the corresponding licence to be uploaded.
DEMO licence
To request a DEMO licence, fill in the following form: New DEMO licence request.
Please note that, unless otherwise agreed, the DEMO licence will expire 30 days after activation, following which the nodes and users cannot be modified.
In case of need of further information, please contact partner@o3enterprise.com.
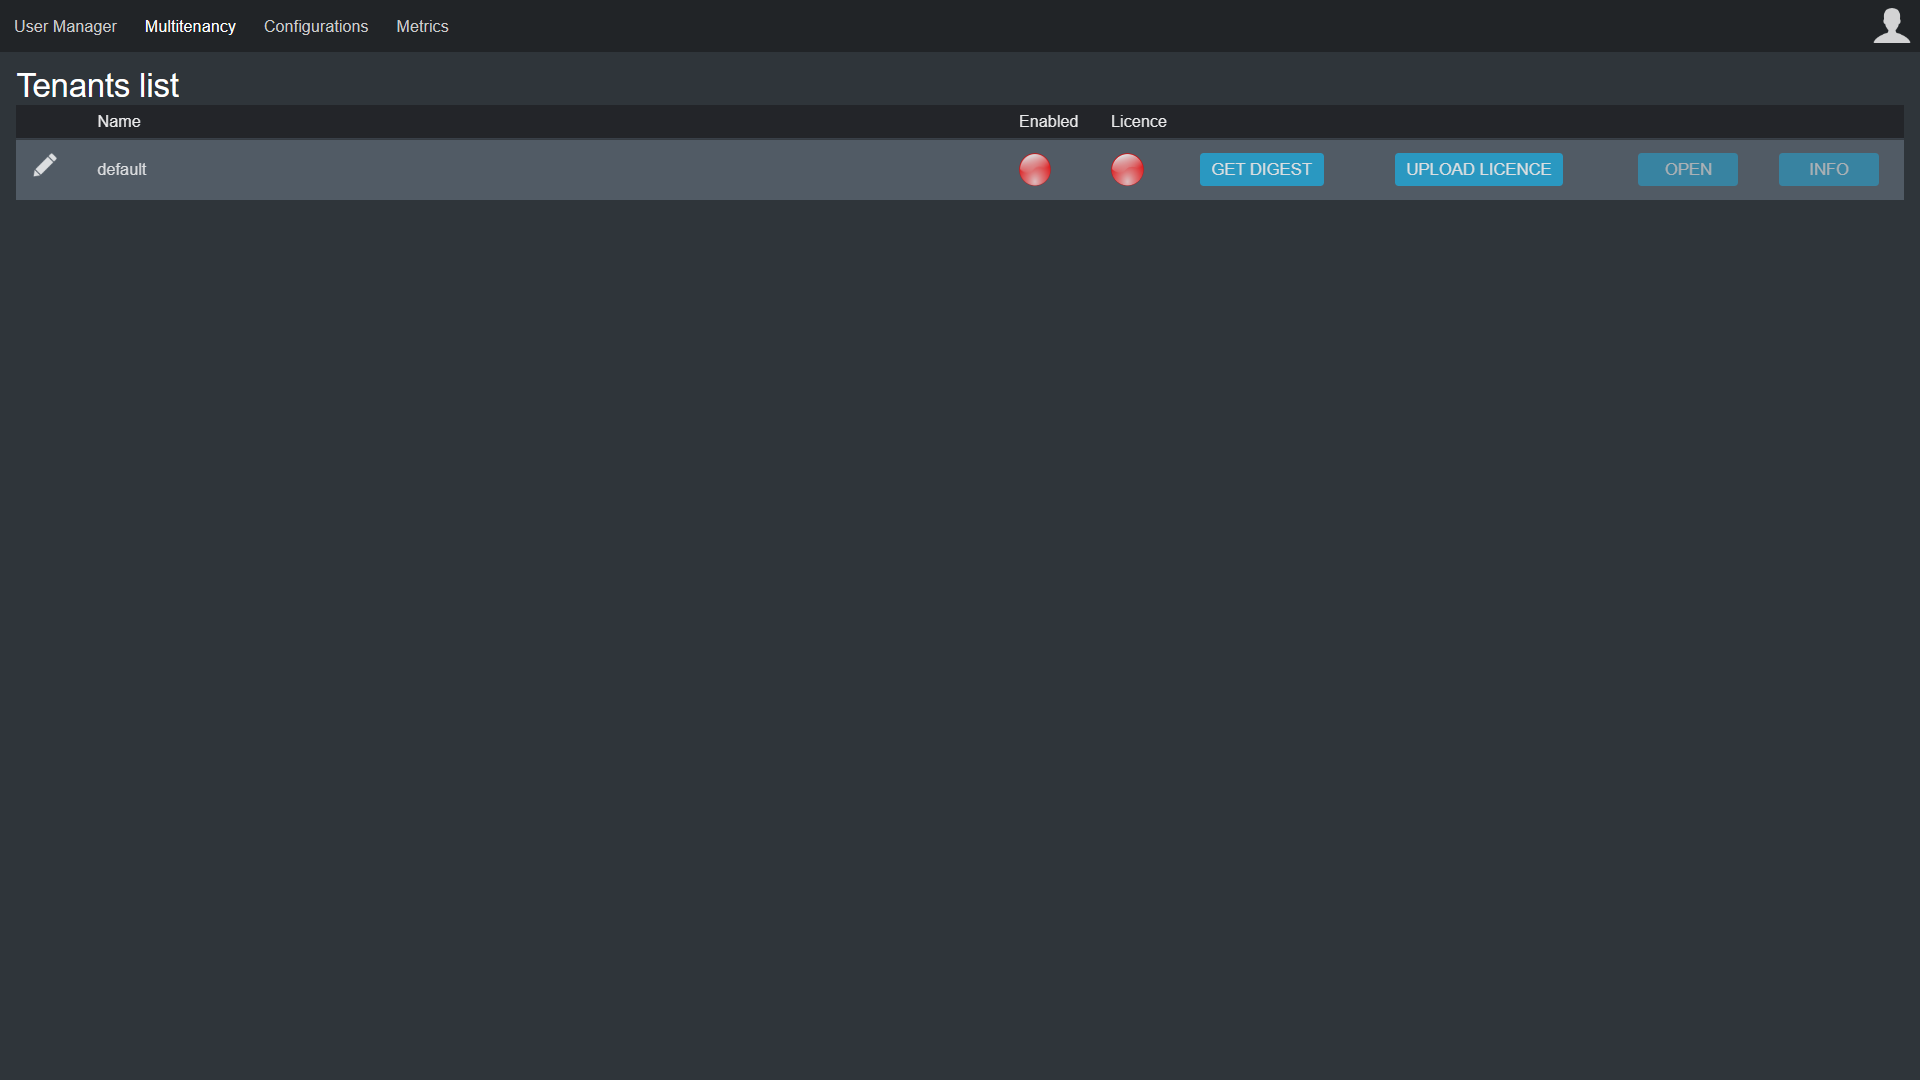
“Tenants list” within the “Multitenancy” area of the admin tenant
Tenant configuration
To open a tenant from the tenant list, click the “OPEN” button and log in to the system using the password set during the tenant’s initial configuration.
It is possible to return to the admin tenant by clicking the “Go to the Admin tenant” button in the menu accessible from the user icon in the top-right corner.
Adding a physical medium
This step is needed to set the physical medium for storing files within the system. To configure a new physical medium, navigate to the "Storage Area" and click the "Add new Physical Medium" button.
To avoid data loss, make sure the “Storage Path” field specifies a persistent volume configured in the docker-compose.yaml file.
Unless modified, insert the path /opt/storagePacs for single-tenant installations and /opt/storagePacs/{tenantName} for multitenancy installations.
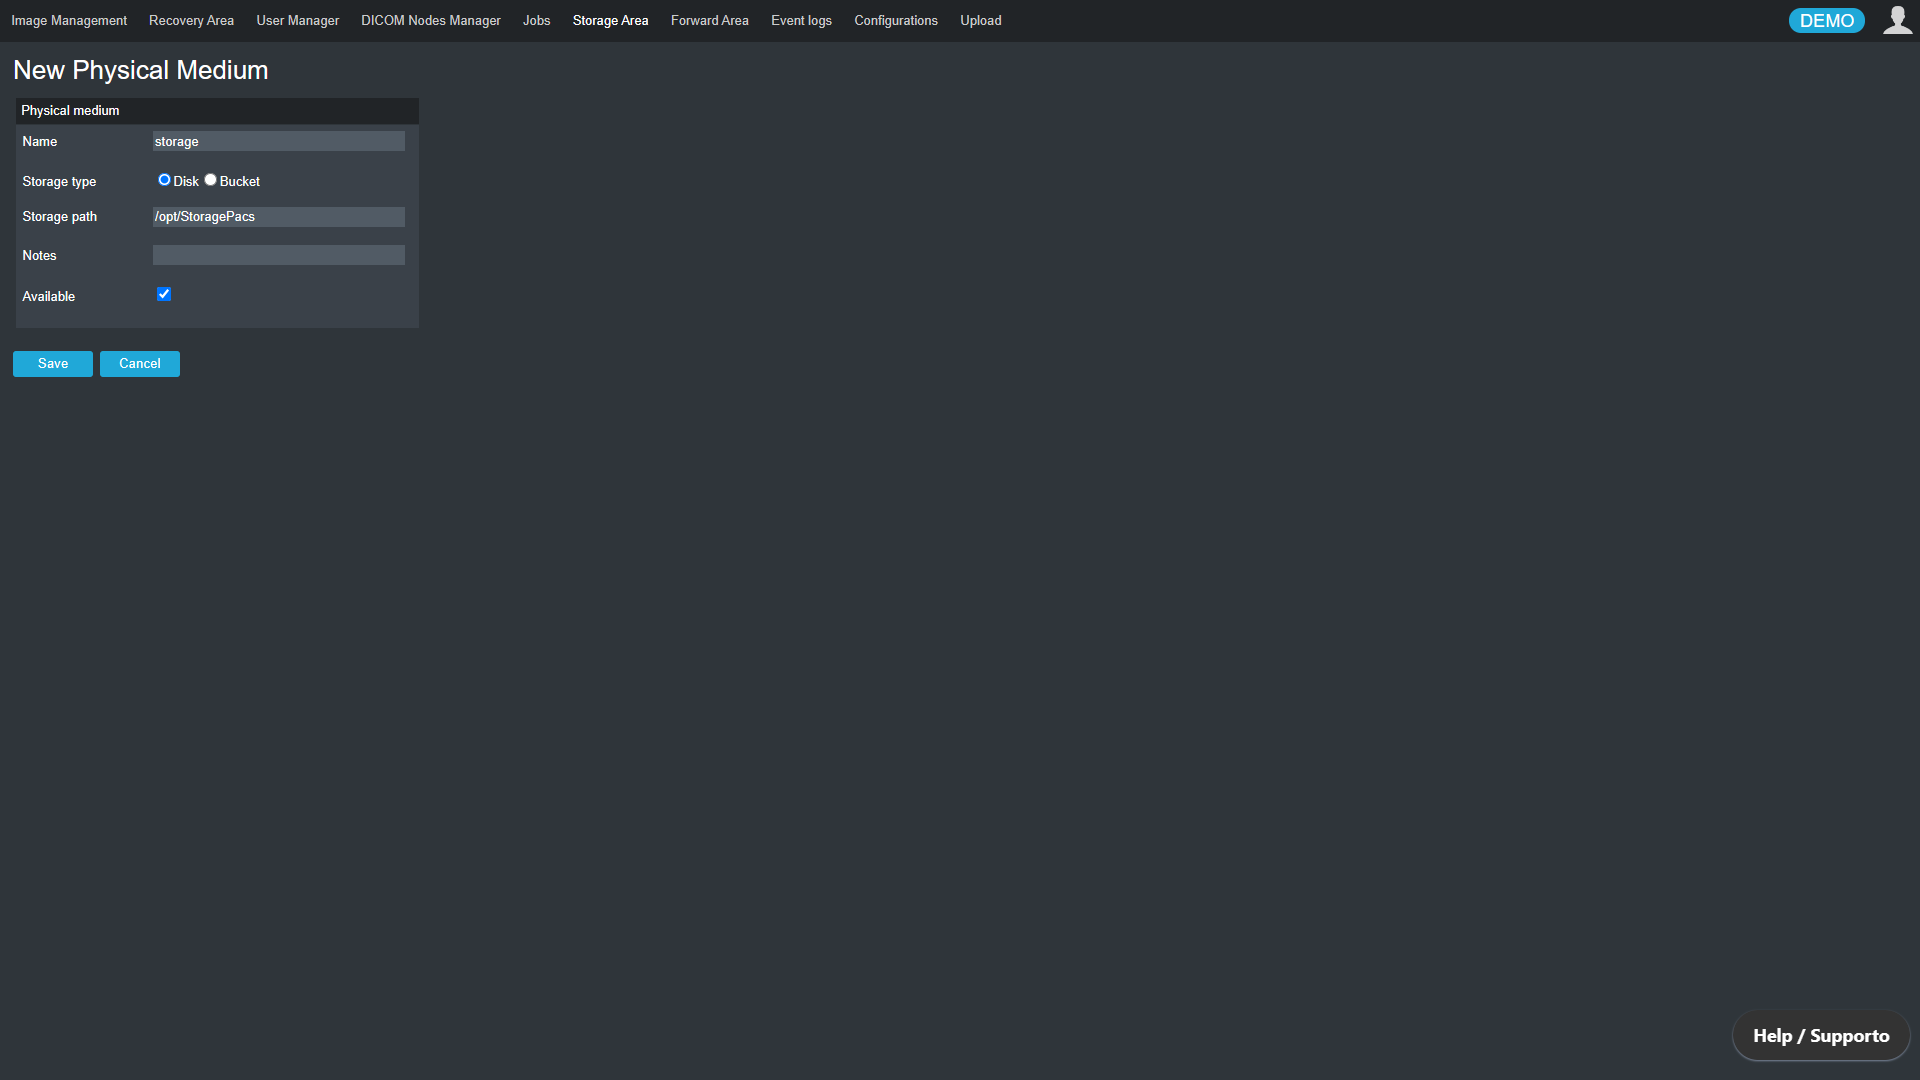
Add a physical medium from the “Storage Area”
Adding a DICOM node
To enable the system to receive exams from DICOM nodes, they must be configured properly. Navigate to the "DICOM Nodes Manager" area, click the "Add new node" button, and provide essential details, including the AE Title, IP address, port, and station name of the DICOM node.
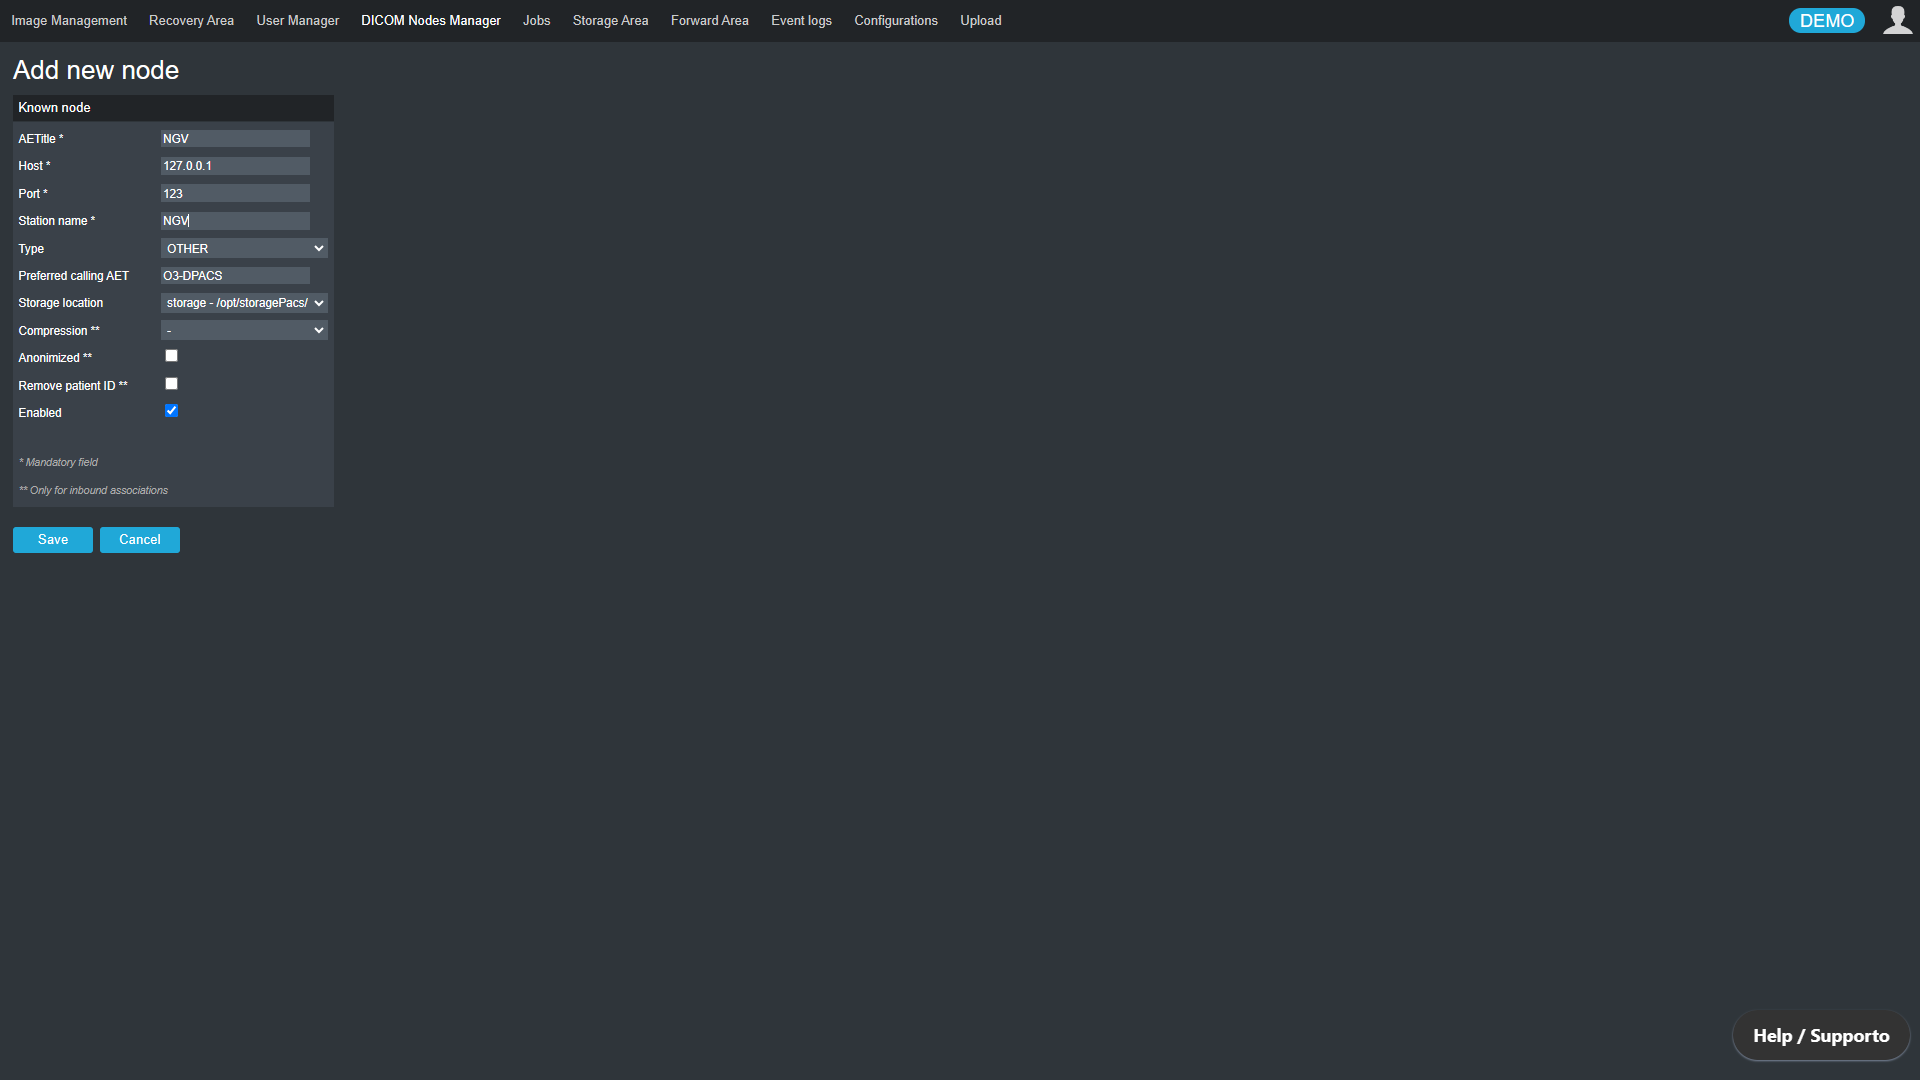
Add a new node from the “DICOM Nodes Manager” area
Managing API Keys
In the “API Keys” section of the “Configurations” area, it is possible to create and manage the API keys used for authenticating and authorizing requests to the PACS APIs.
Please note that when a new API Key is created, the token will be displayed only once in a confirmation popup. Store it securely; otherwise, it will not be possible to retrieve it later.
User Manual
For additional details on configuring the system, please consult the Manual accessible from the system interface. Click the user icon located in the top-right corner, then select the “About” button. Within the info screen that appears, click the book icon to access the Manual.